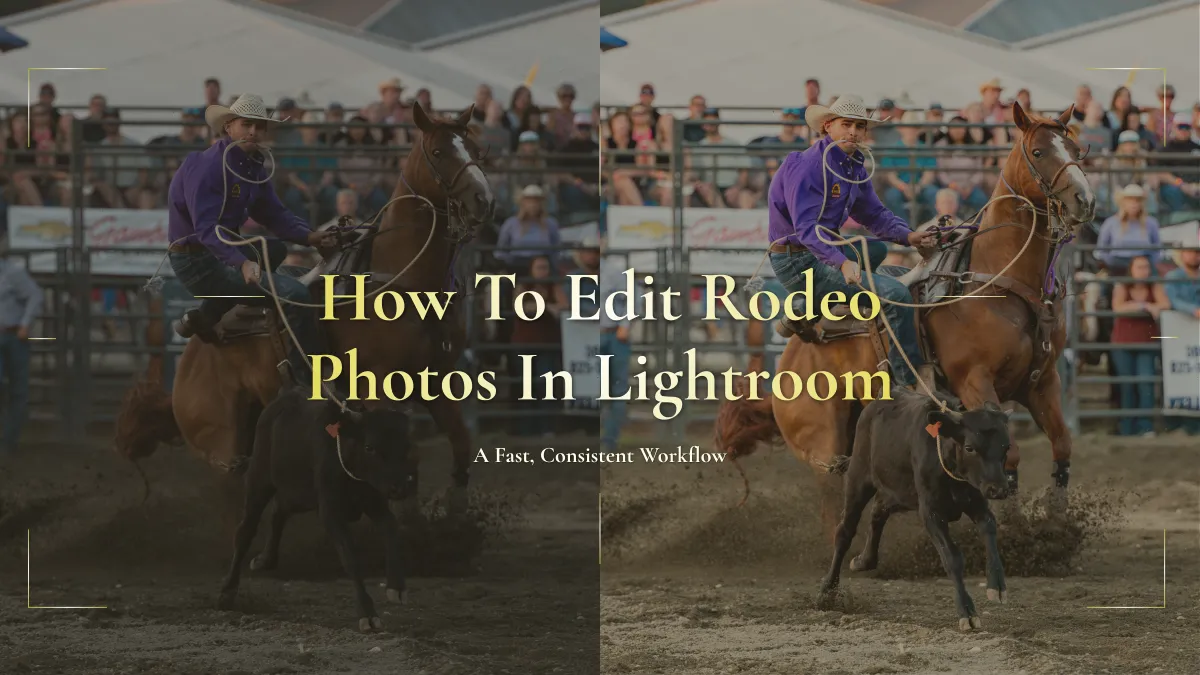
How to Edit Rodeo Photos in Lightroom: A Fast, Consistent Workflow
How to Edit Rodeo Photos in Lightroom: A Fast, Consistent Workflow
Editing a full rodeo is different from perfecting one portfolio image. You may return with thousands of files created in daylight, sunset, arena lights and mixed color. The goal is to create a consistent gallery without rebuilding every photograph from the beginning.
A strong Lightroom workflow should help you protect the files, find the best moments, group similar conditions and create a finished gallery that feels cohesive.
(As an Amazon Associate I earn from qualifying purchases. I may earn a commission from eligible purchases made through links in this post at no additional cost to you.)
Protect the files first
Before editing, make sure the memory card and Lightroom catalog are not your only copies. Important work should exist in more than one dependable location before cards are formatted or reused.
Use a consistent folder system so you can find an event later when a contestant or committee requests an image. Your exact naming system matters less than using it consistently.
You can see examples of useful drives and accessories in my Photography Editing Tools list.
Cull for quality and coverage
Culling is not simply deleting blurry photographs. It is choosing the frames that best represent the action and the event.
Remove obvious misses first, compare similar sequences, and then check the overall gallery. Look for strong timing, expression, focus, background and variety. If you were hired by the rodeo, also confirm that the final selection includes the people, sponsors, disciplines and atmosphere the committee needs.
Delivering more images is not always better. Too many near-duplicates can weaken the gallery and increase your editing time without adding meaningful value.
Group photographs by lighting
Rodeos can move from daylight to shade, sunset and artificial arena lights in one performance. Editing similar lighting conditions together creates a more consistent starting point and reduces repetitive work.
That does not mean every photograph receives the exact same edit. Exposure, color and crop still need to be checked individually before delivery.
Build a consistent base edit
The major areas to review include:
• White balance
• Exposure and highlight detail
• Shadows and contrast
• Color accuracy
• Crop and composition
• Noise reduction and sharpening
• Local adjustments when the subject needs extra attention
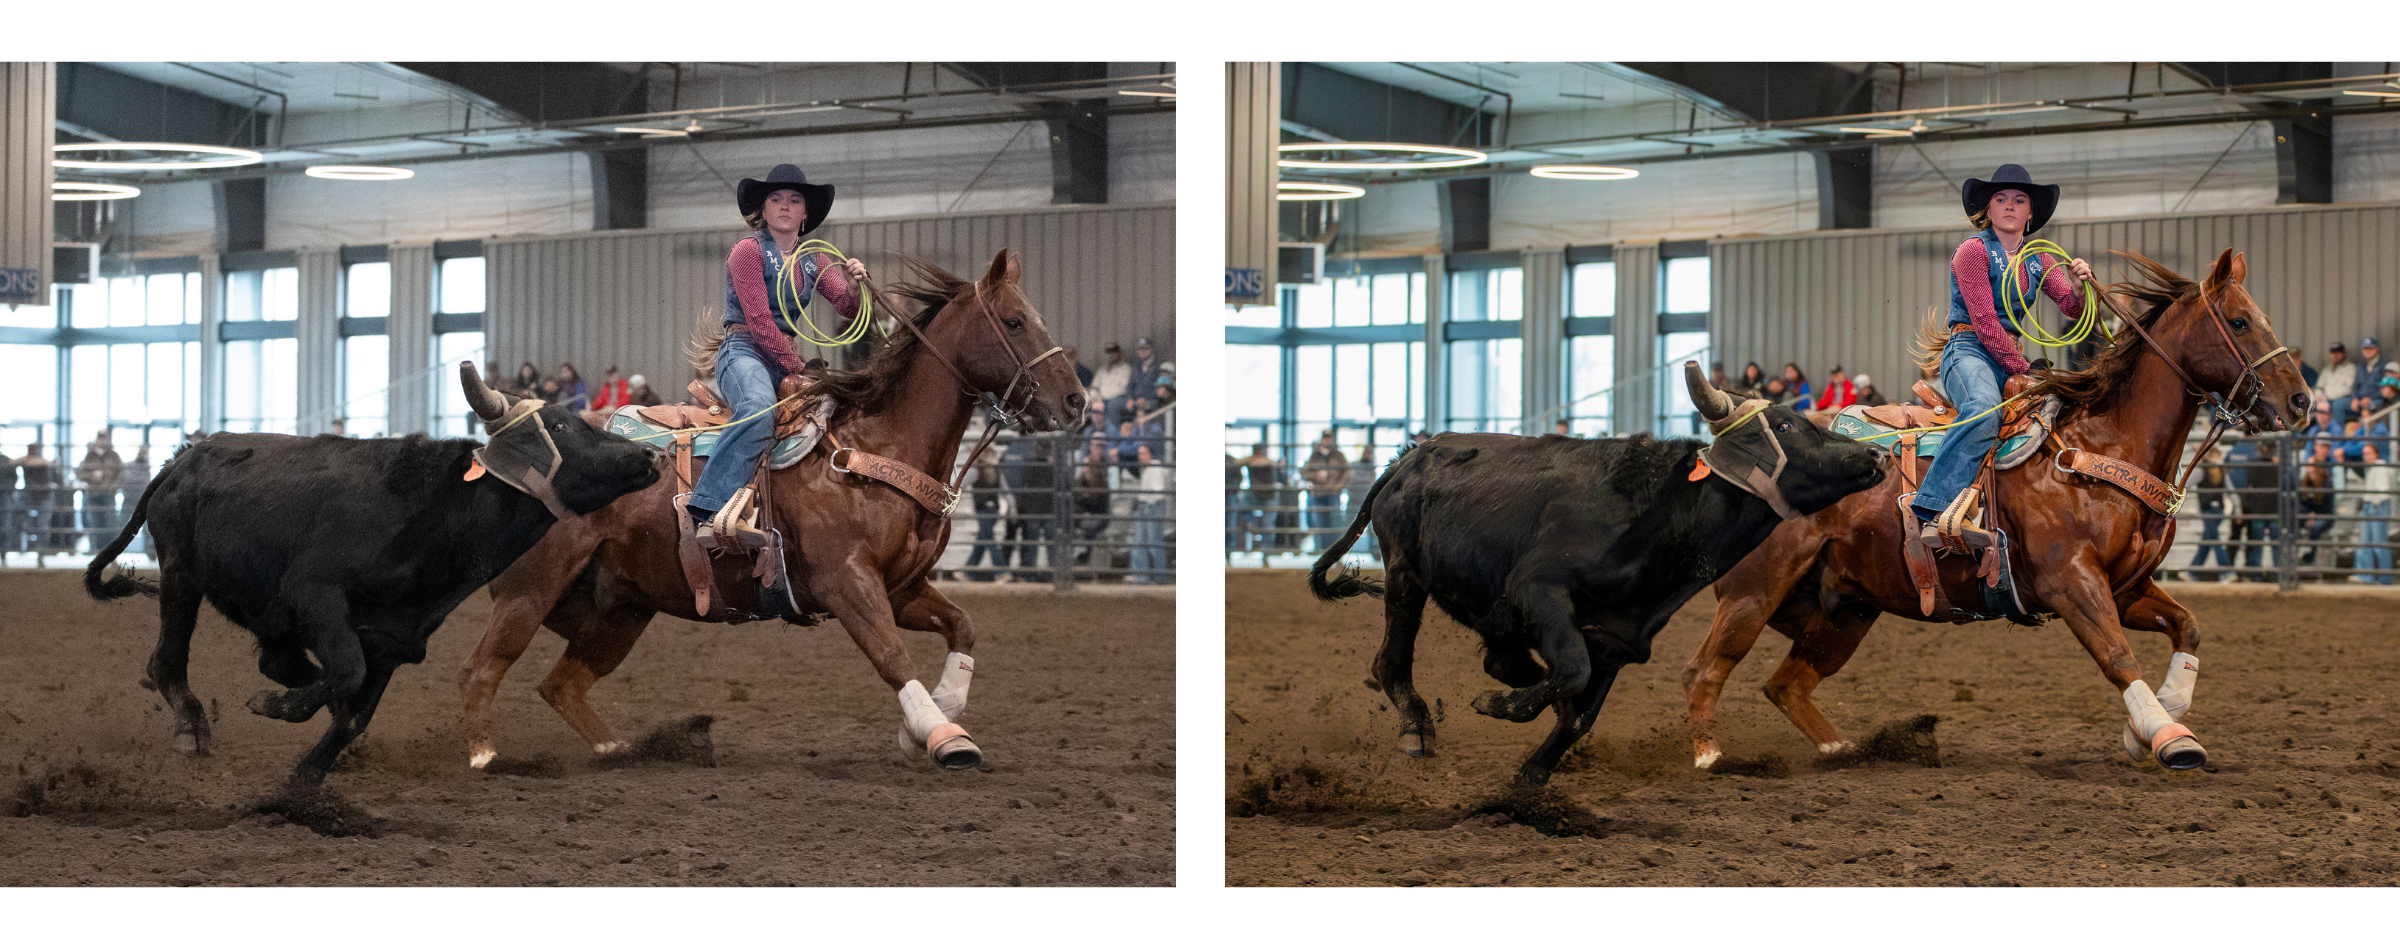
These choices should support the subject without making the photograph look artificial. Be especially careful with skin tones, white hats and shirts, arena dirt, livestock color and sponsor logos.
If a rodeo was photographed at night, the final images should still feel like nighttime. Avoid brightening or changing the colors so dramatically that the scene appears to have been photographed during the day. Aim to preserve the atmosphere you photographed in and keep the colors as true to the event as possible.
Mixed arena lighting may cause consecutive frames to look different even when your camera settings remain the same. That is why consistency requires both a repeatable process and individual review.
Use presets as a starting point
A well-built preset can speed up repeated decisions and give a gallery a consistent foundation. It should not force every arena, lighting condition or camera file into exactly the same result.
Choose a preset that fits the starting image, then adjust the areas that change from frame to frame. My Rodeo Lightroom Presets include 16 options created as practical starting points for rodeo photographs.
Review the gallery as a whole
An image can look fine by itself and still appear noticeably too dark, green, cool or saturated when placed beside the rest of the sequence. Grid view makes those inconsistencies easier to notice.
Before exporting, scan the gallery for sudden changes in exposure, white balance, crop or editing strength. Then open the problem images and refine them individually.
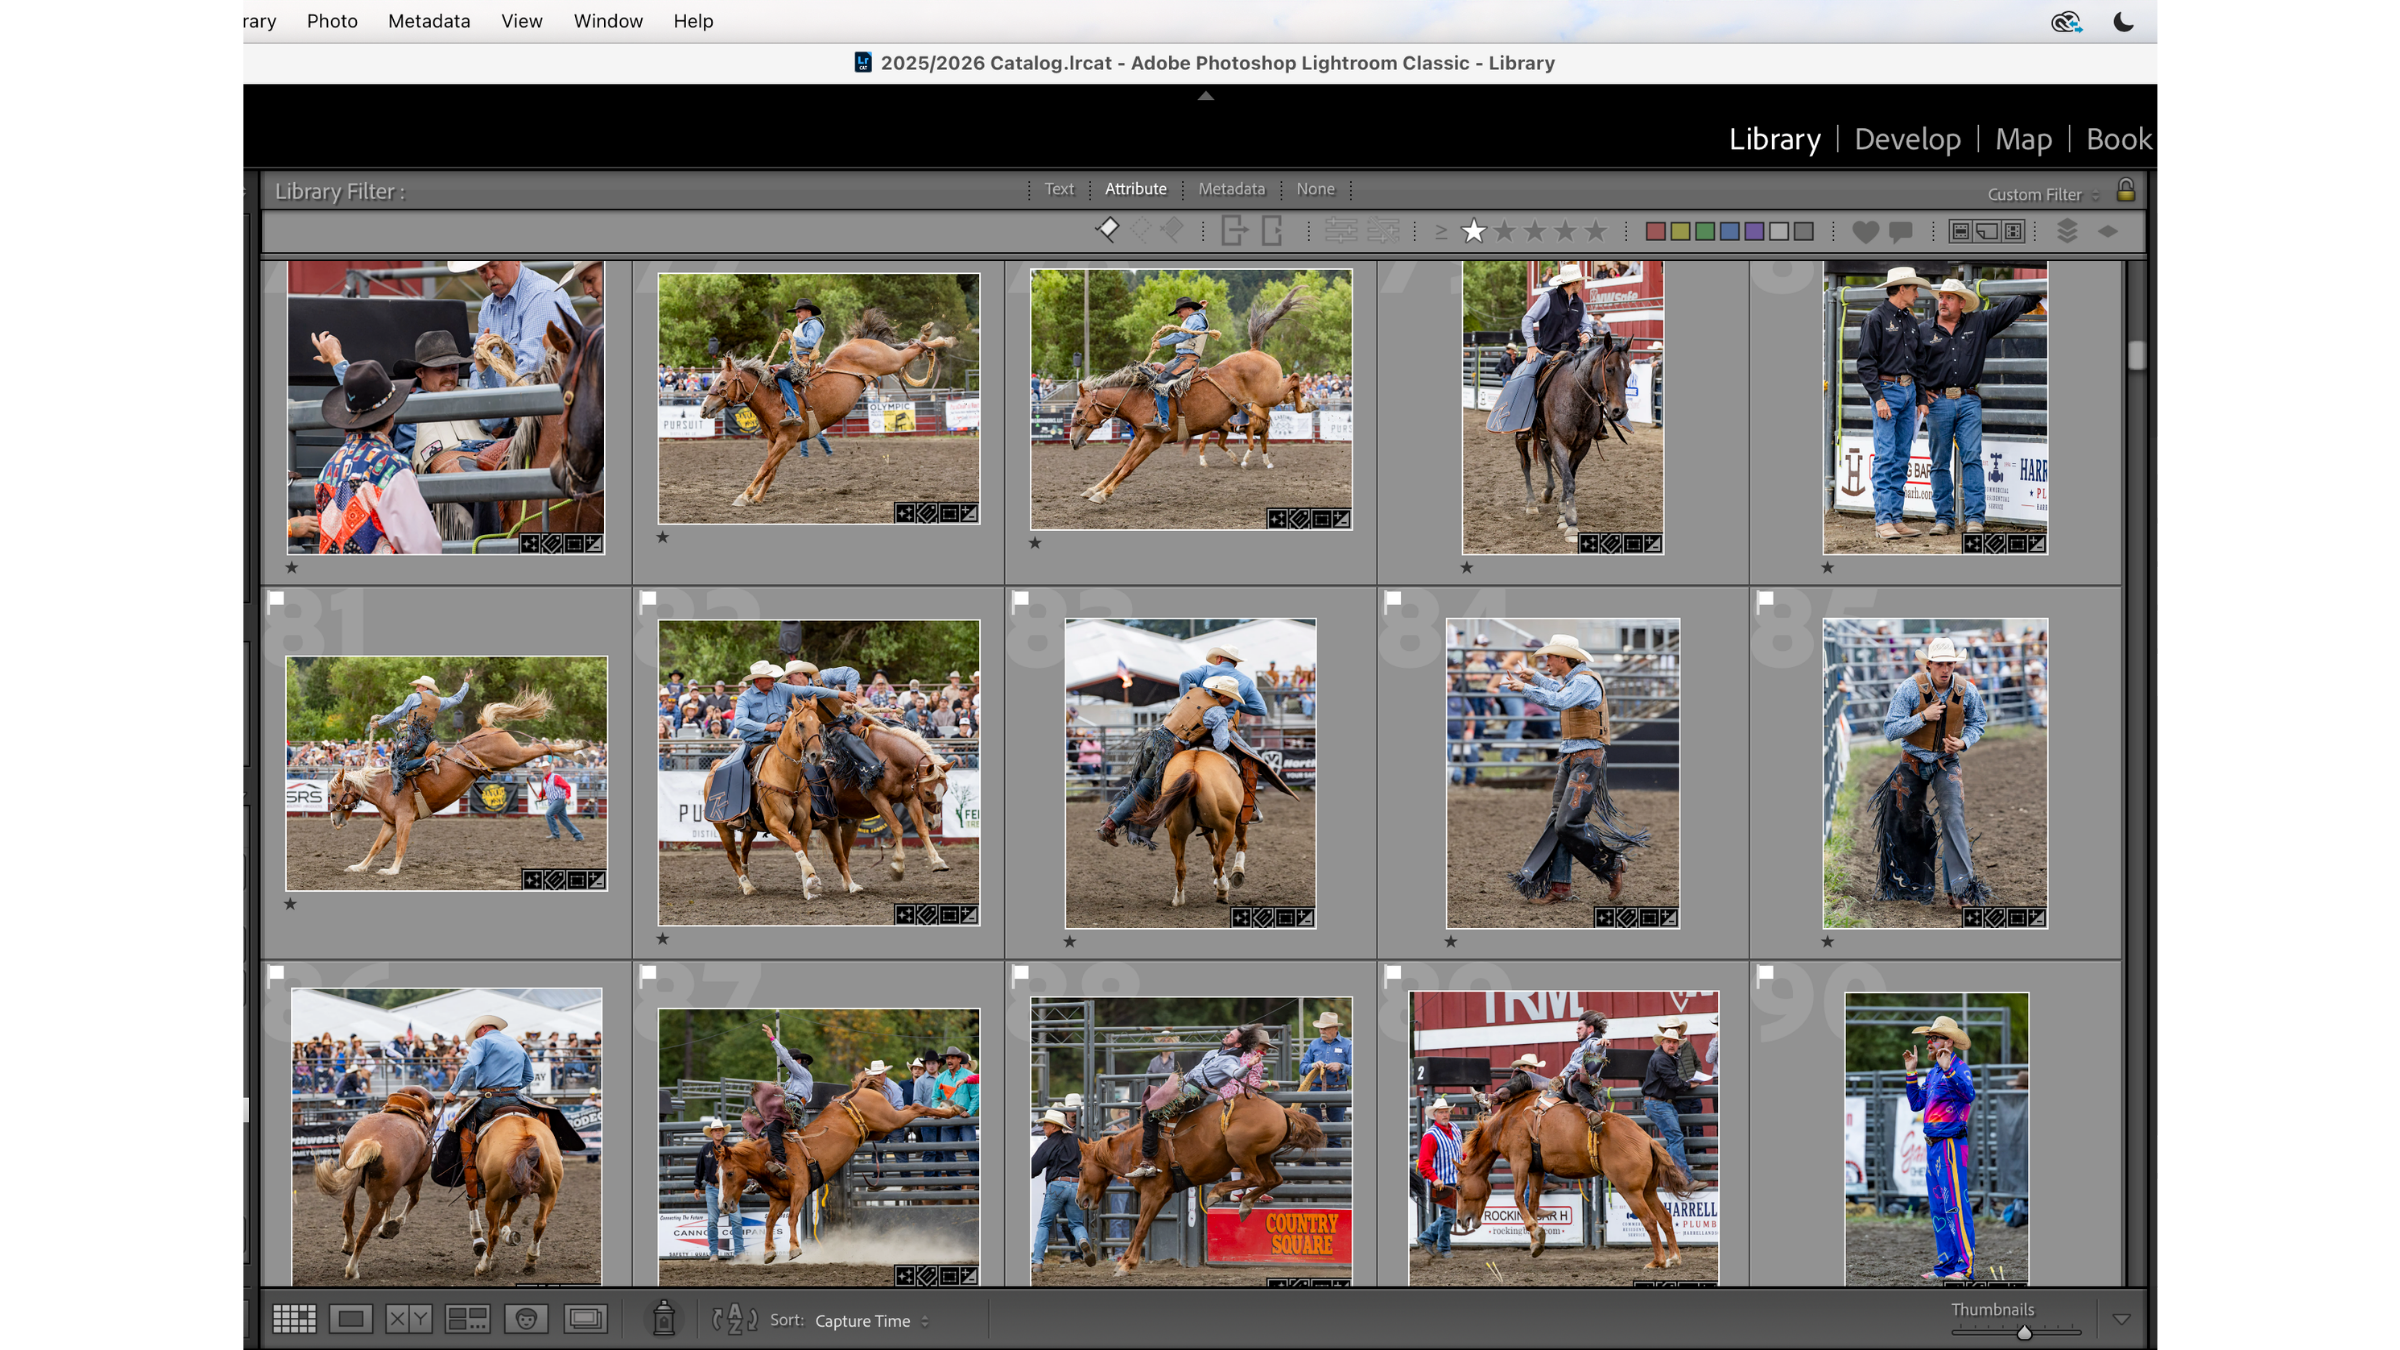
Export for the intended use
The final files should match the agreement and the way they will be used. A committee may need high-resolution photographs for marketing, while website or social-media copies may need smaller files. Contestant galleries, prints and publication work can have different requirements.
Before sending the gallery, confirm that the exported files open correctly, appear in the correct color space and are organized in a way the recipient can understand.
Create a process you can repeat
An efficient workflow should move through the same major stages each time:
1. Back up and organize
2. Cull for quality and coverage
3. Group similar lighting
4. Create a strong base edit
5. Review each delivered image
6. Check the full gallery for consistency
7. Export, verify and deliver
This gives you the structure of a professional rodeo editing workflow without assuming that every arena requires the same corrections.
If you want the full path from camera skills through editing and business, my Beginner's Guide to Rodeo Photography brings those pieces together. The Rodeo Photographer Starter Bundle includes the guide, presets and outreach resources.
Frequently asked questions
Can one preset work for an entire rodeo?
One preset may provide a consistent foundation, but changing light usually requires additional exposure, white balance and image-specific adjustments.
Should I remove all noise from indoor rodeo photographs?
No. Excessive noise reduction can remove important texture and detail. Aim for a balanced result that fits the image's final use.
Should I edit every photograph individually?
Every delivered image should be reviewed individually, but similar photographs can begin from synchronized settings or a consistent preset rather than being built from zero.