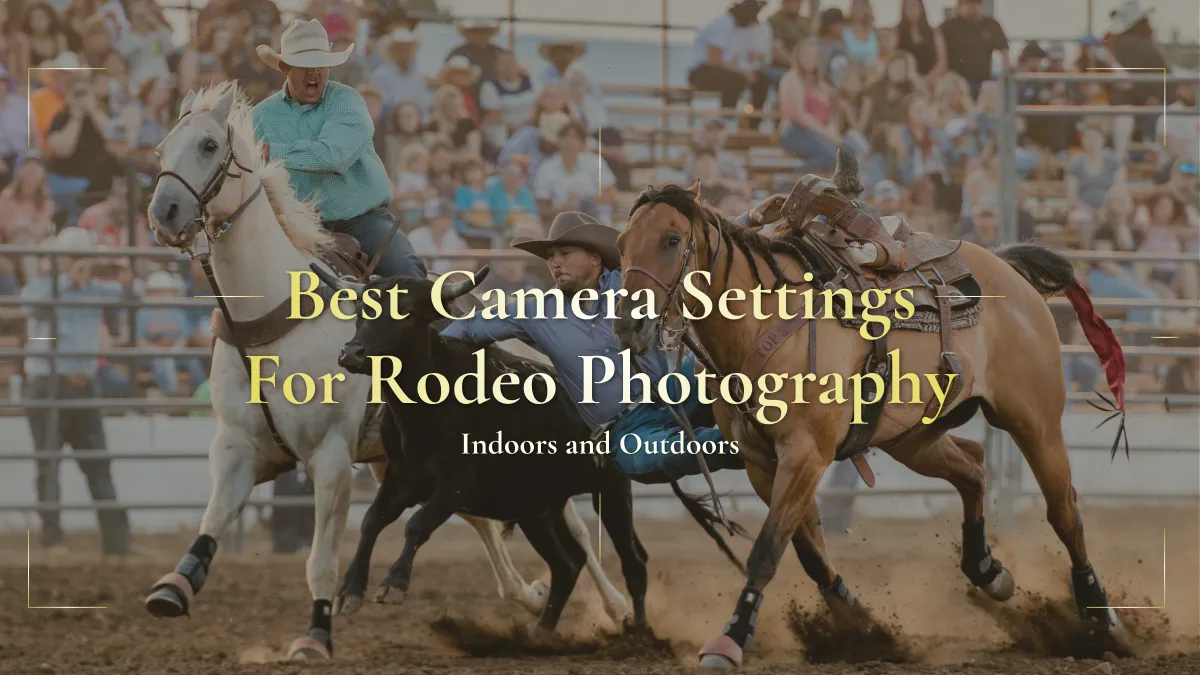
Best Camera Settings for Rodeo Photography: Indoors and Outdoors
Best Camera Settings for Rodeo Photography: Indoors and Outdoors
There is no single group of camera settings that works at every rodeo. A bright outdoor barrel race and a dim indoor bull riding performance create completely different challenges. Your camera, lens, position and the speed of the event also affect what you need.
Instead of searching for one magic combination, learn which settings protect the moment and which ones must change as the light and action change.
Prioritize shutter speed
Rodeo action happens quickly. Shutter speed is often the first setting to consider because it determines whether the motion appears sharp or blurred.
For most primary action coverage, your shutter speed needs to be fast enough to hold detail in the contestant, livestock, ropes, dirt and clothing. A photograph can look sharp on the back of the camera while still showing blur when viewed at full size.
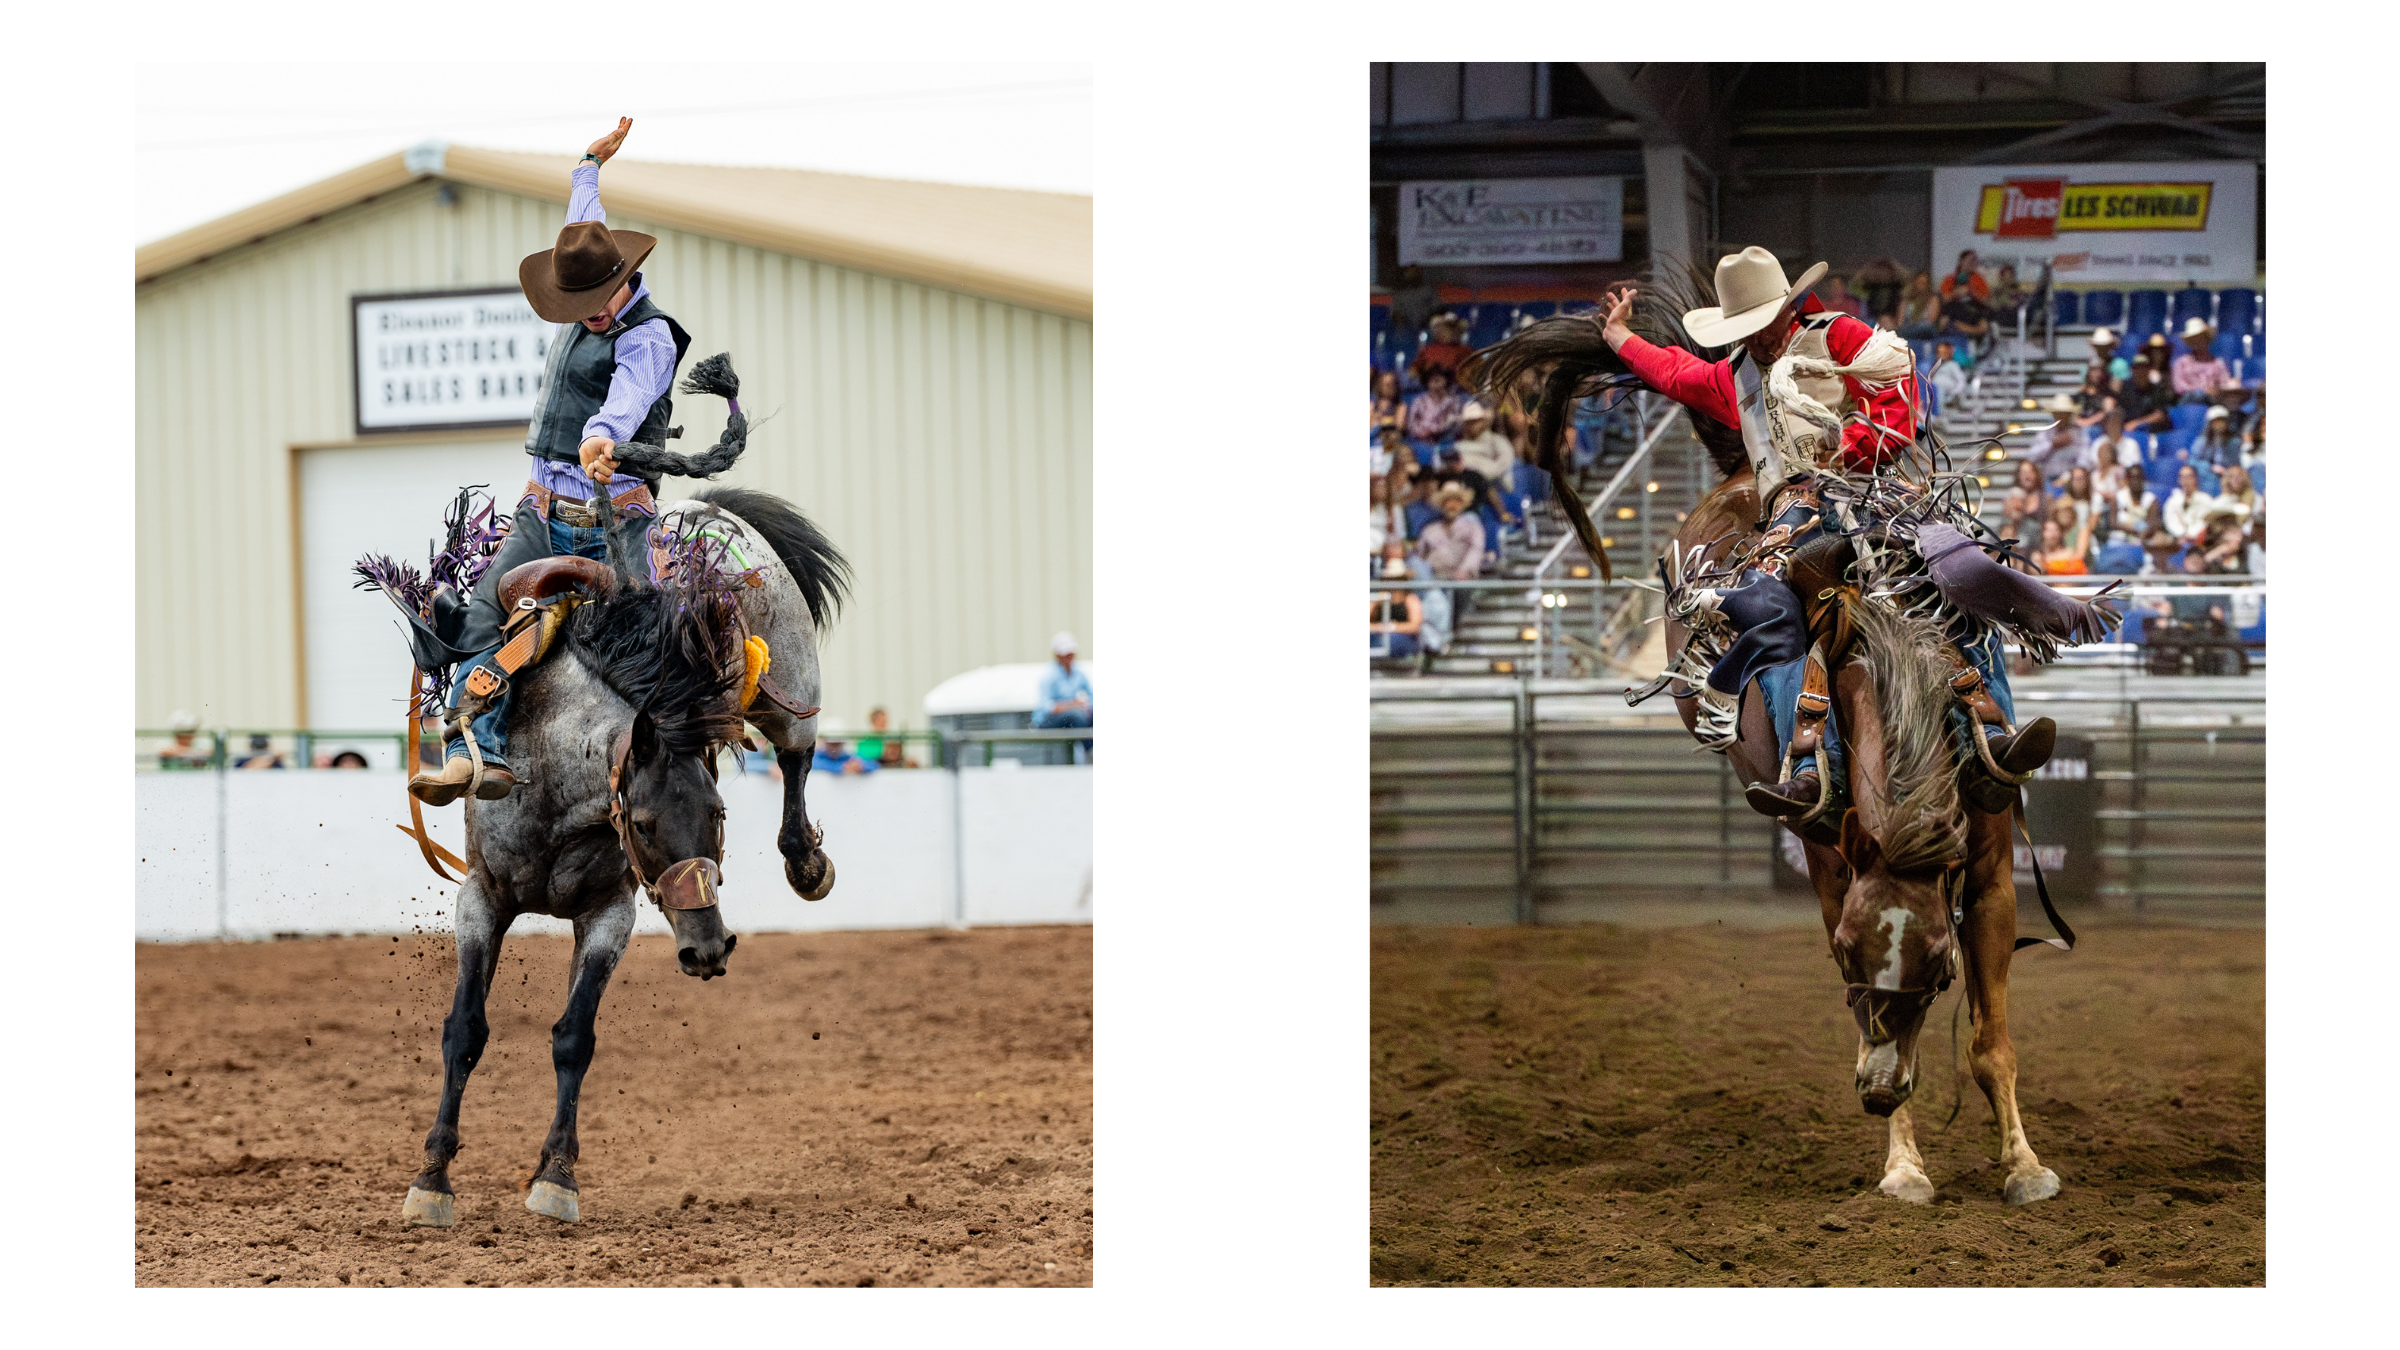
As a general starting point, many photographers work around 1/1250 second or faster, with quicker action often requiring more speed. That number is not a promise. The correct choice depends on the event, available light and the look you want to create.
Use aperture to support the image
A wider aperture allows more light into the camera and can help separate the subject from a busy background. This is especially valuable in indoor and nighttime arenas.
However, aperture also affects depth of field. If the focus misses slightly, a very shallow depth of field can make that mistake more visible. Your lens, distance and the number of subjects in the frame all matter.
Let ISO respond to the light
ISO is often the setting beginners hesitate to raise, but a higher ISO may be necessary to maintain a usable shutter speed in low light. A sharp image with visible noise can often be improved during editing. Motion blur across the most important part of the photograph is much harder to repair.
The goal is not to use the lowest ISO at any cost. It is to choose an exposure that protects the image while staying within what your camera can reasonably produce.
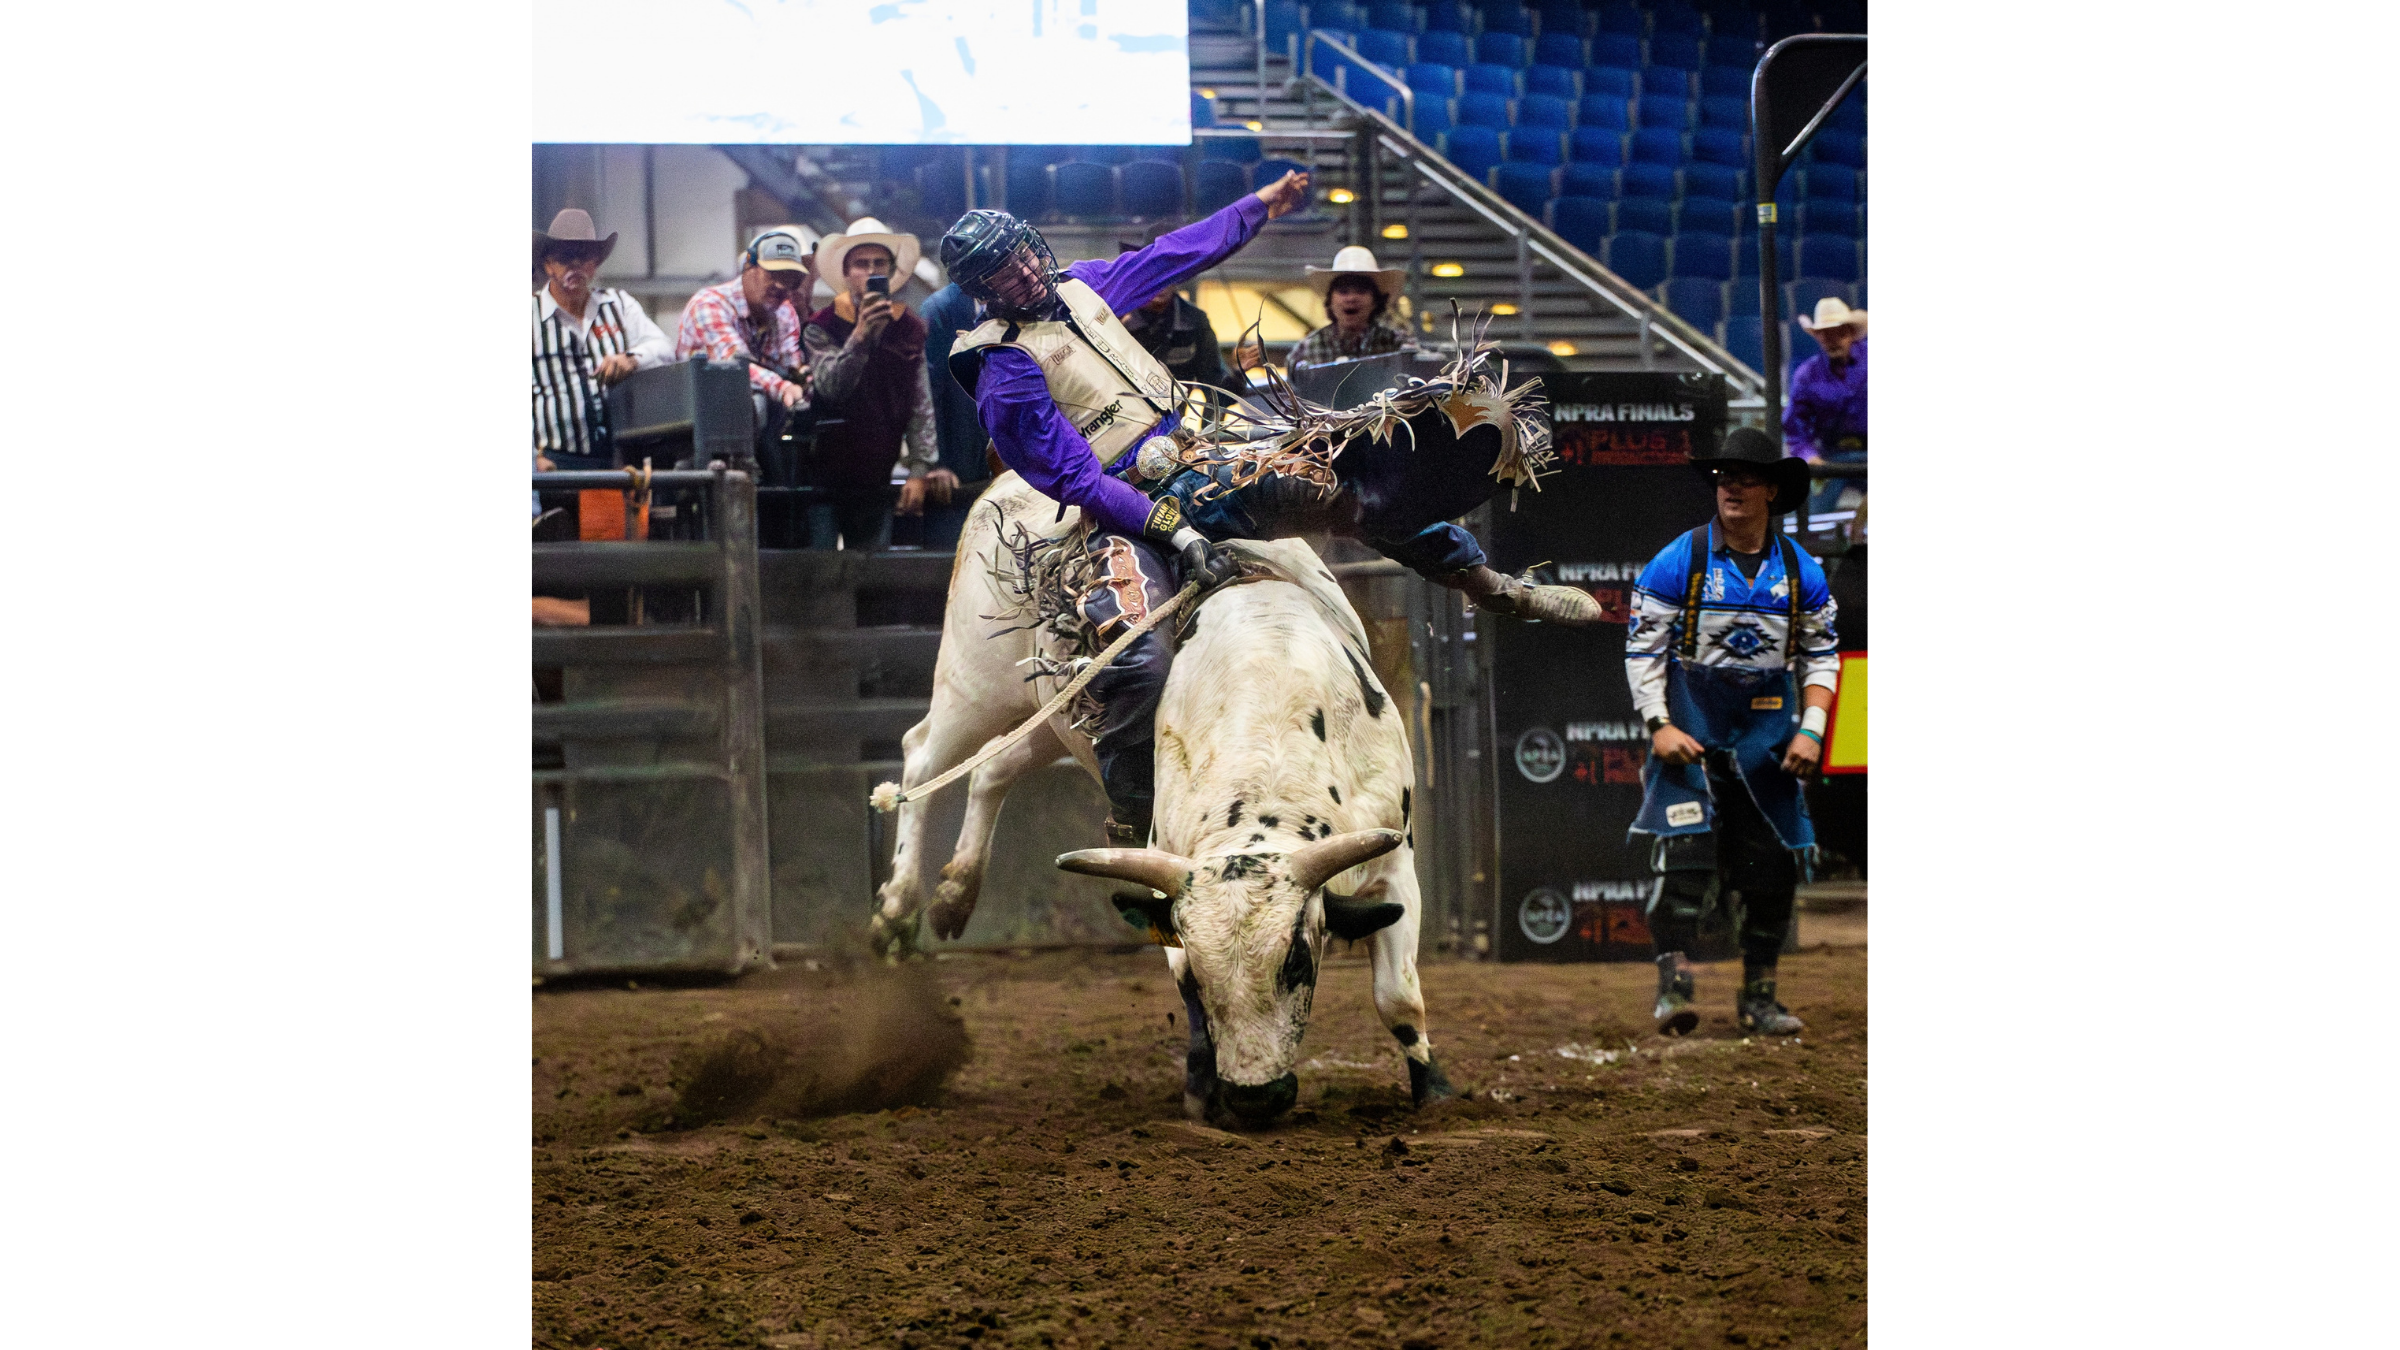
Choose focus settings for movement
Rodeo subjects rarely stay in one place. Continuous autofocus, called AI Servo on many Canon cameras, is designed to keep adjusting as the subject moves. Your focus area also needs to give the camera enough information without grabbing the fence, crowd or another distracting object.
The most effective autofocus setup depends on your camera and the event. More focus points are not automatically better, and one setup may not work equally well for barrel racing, team roping and roughstock.
Use burst mode intentionally
High-speed continuous shooting can help capture a short sequence, but it cannot replace anticipation. Long, uncontrolled bursts create more files without guaranteeing better timing.
Learn to recognize when the important moment is developing, photograph a deliberate sequence and then reset for the next opportunity.
Outdoor and indoor priorities
In bright outdoor light, you generally have more flexibility. You may be able to use a faster shutter speed, lower ISO or slightly smaller aperture while maintaining a strong exposure.
Indoors or at night, the decisions become more connected. You may need to open the aperture, raise ISO and carefully protect shutter speed. Arena lights can also introduce changing color, uneven exposure or flicker that is not obvious until you review several frames.
Check these settings before the first run
Before photographing the event, confirm that you have considered:
• Shooting mode
• Shutter speed
• Aperture
• ISO or Auto ISO limits
• Continuous autofocus
• Focus area
• High-speed continuous drive
• RAW file format
• Available card space and battery life
This checklist tells you what deserves attention. The best combination still depends on the arena and the action in front of you.
Learn why the settings work
Copying someone else's numbers may help for a moment, but it will not teach you what to change when the light drops, the action moves closer or the focus begins grabbing the background.
My Beginner's Guide to Rodeo Photography explains the larger shooting process so you can make those decisions with more confidence. After the event, my Rodeo Lightroom Presets can give you a consistent editing foundation for changing arena conditions.
Frequently asked questions
Should I use Auto ISO for rodeo photography?
Auto ISO can be helpful when light changes quickly, but it should be used with intentional shutter speed and ISO limits. Watch what the camera selects rather than treating it as a fully automatic solution.
Is a noisy photograph better than a blurry one?
For most documentary action, a sharp image with manageable noise is more useful than an image with unwanted motion blur across the subject.
Should I photograph rodeos in RAW?
RAW files preserve more editing flexibility for exposure, white balance and difficult arena light, although they require more storage and processing.